From Bob’s original Learning Nuggets archive. Instructions and screenshots refer to Trial Director 360.
When training, I use the term layering a lot. You can't learn everything, all at once. None of us can. Hopefully you've learned how to highlight a passage when in presentation, and also learned how to use the projection zoom to callout a passage of a document. That's layer one of learning presentation basics. Another layer to tack on next is understanding what zones are and how they can be used effectively.
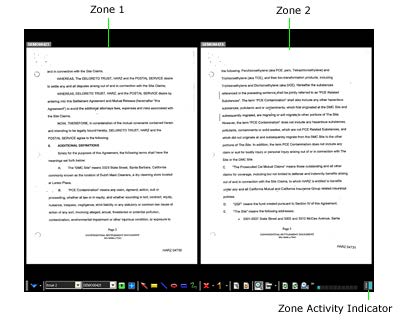
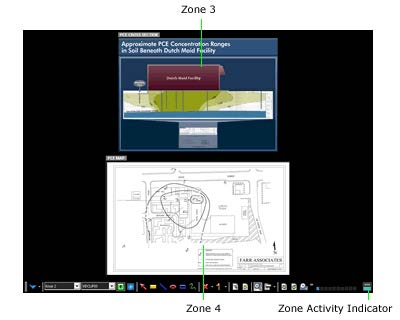
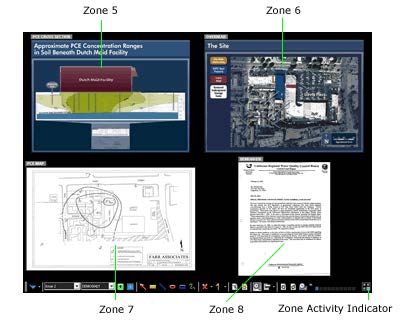
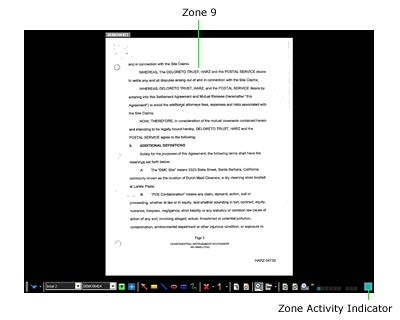
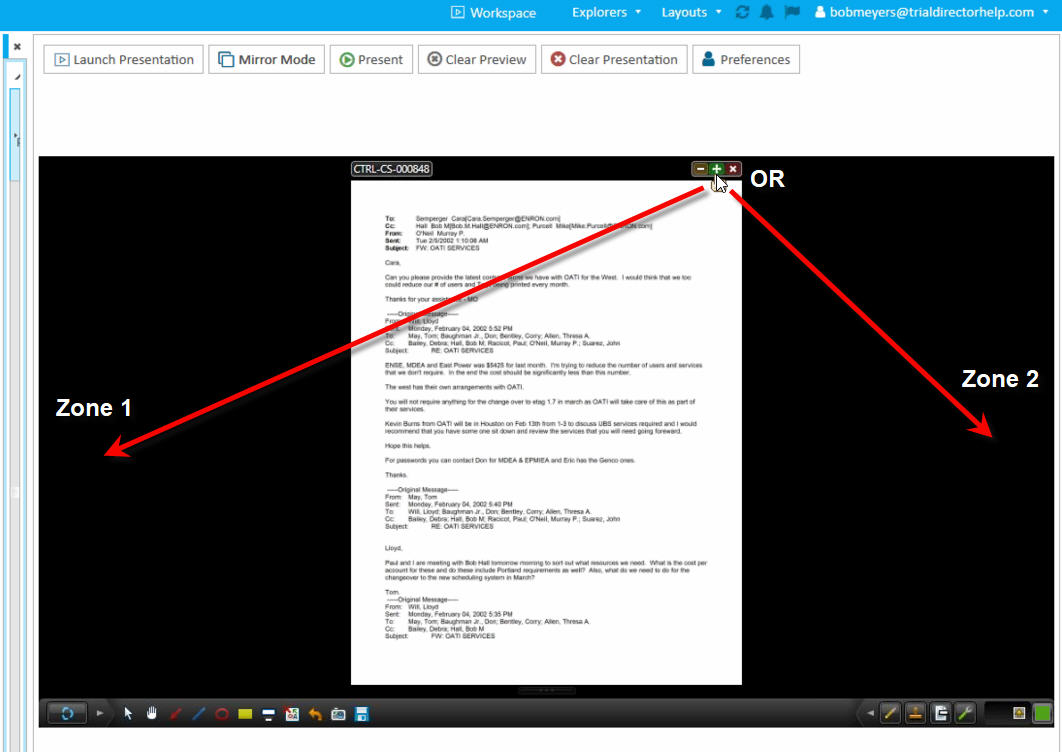
When viewing the presentation parts of TD 360, you see a black screen. That black screen is composed of 9 (hidden) zones. These zones allow you to present different exhibits in any of those zones, to help present multiple exhibits at one time. The classic example is presenting two exhibits side-by-side, in portrait mode. Those are called Zone 1 (to the left) and Zone 2 (to the right). The default zone, the zone that presents an exhibit centered on the presentation screen, is Zone 9.
There are several methods for getting an exhibit into a zone:
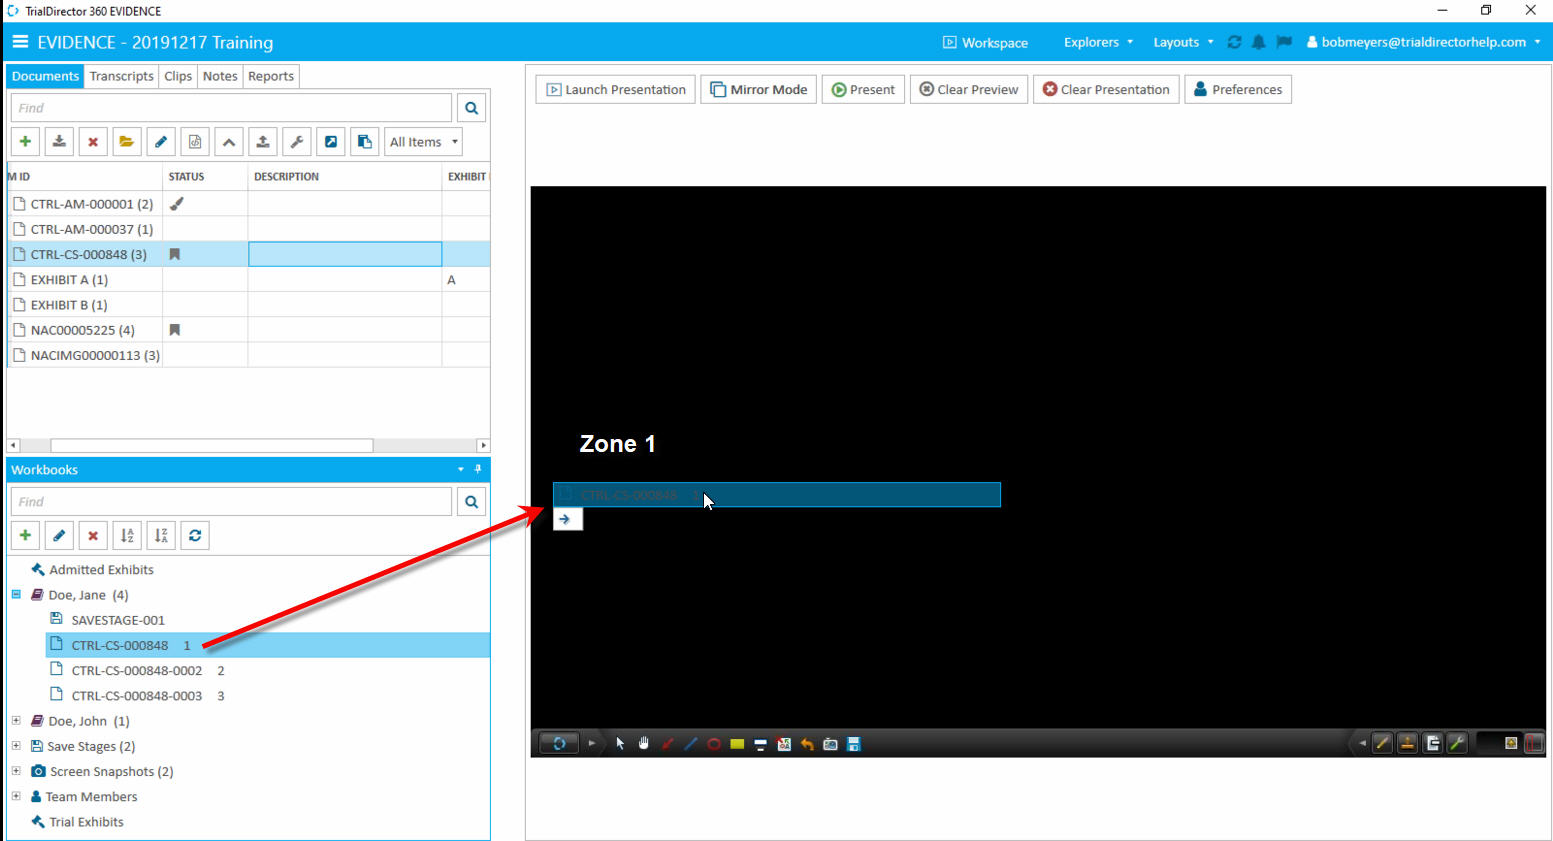
- From the Document Explorer or from a Workbook, drag and drop an exhibit into the zone of your choosing
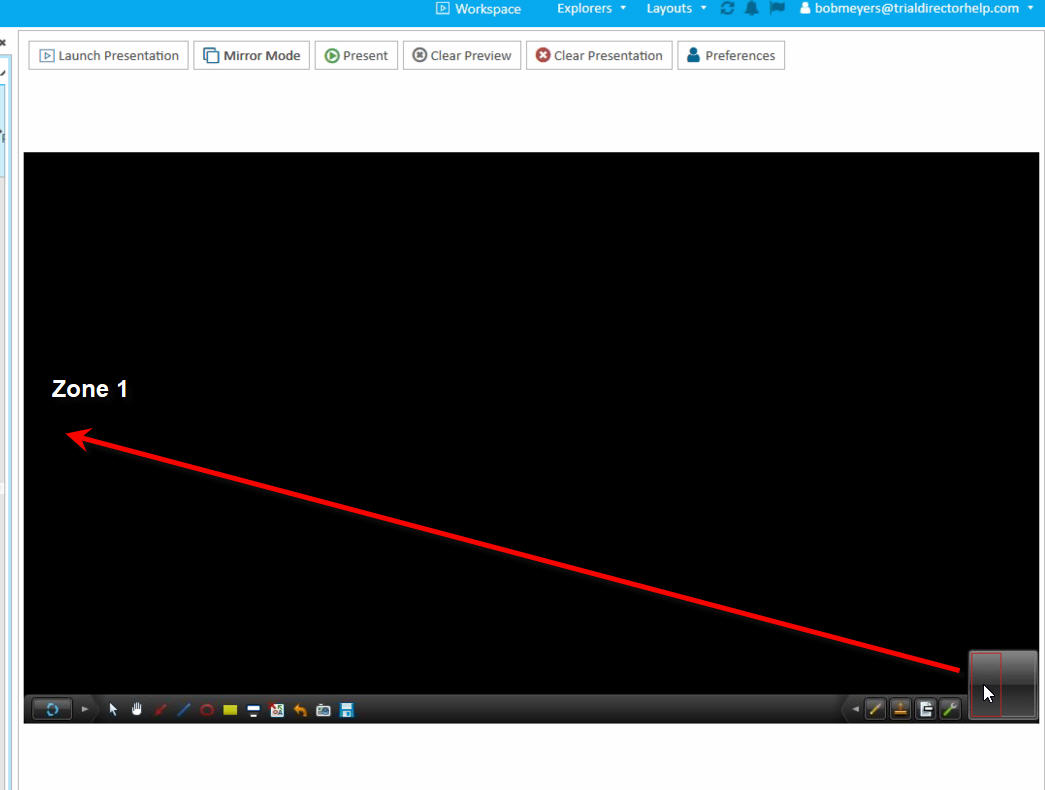
- Use the zone box in the bottom-right corner to select which zone you want the next exhibit to present into
- Use the icon in the upper-right corner above the exhibit to drag the current exhibit into the zone of your choosing.
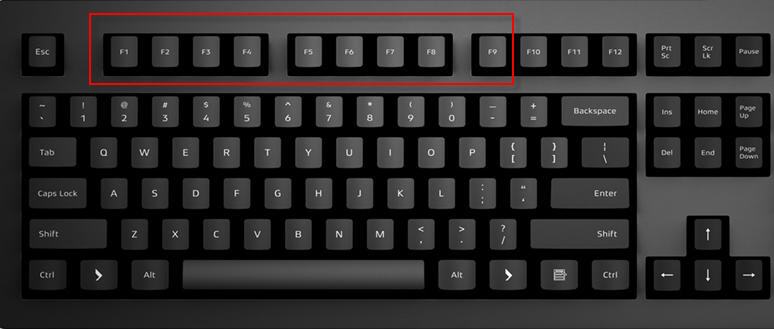
- Learn the keyboard shortcuts to identify which zone the next exhibit presents into
- F1-F9 represent the numbered zones, i.e., F1 places the next exhibit into Zone 1, etc.
- NOTE: On laptop keyboards, you may have to hold down your FN key + the F key.
- F1-F9 represent the numbered zones, i.e., F1 places the next exhibit into Zone 1, etc.
Each zone is completely independent from any other zone, so however you might mark up an exhibit in Zone 1, will be independent how how you mark up an exhibit in Zone 2.
Instructional screenshots